Bonus Week of the Sew Joy Sew Along Dropping In Quilt
>> Tuesday, September 8, 2020
It's BONUS Week for the Dropping In quilt sew along!
Purchase the Dropping In pattern in my online shop
Paper pattern available through QuiltWoman.com
These posts will always be available so start when you're ready!
Keep Quilting
 |
I'm happy to report that I was able to finish quilting my Dropping In quilt top. It took a few more sessions of quilting more lines of the serpetine stipple stitch to complete. Then I decided to quilt some lines across the quilt too - I quilted where the new rectangles happened when the two blocks joined. In the end it made for squiggly rectangles all over the top which I think is a pretty fun compliment to the Good Vibes fabric line.
Trimming
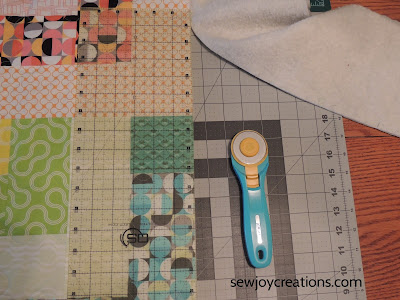
Then it was time to trip the quilt top square and remove the excess batting and backing. I use my large dining room table for this and bring my cutting mat to use on it.

The topstitching I did around the edge of the quilt top before I layered it for quilting came in handy in this step; I used it as a guide to line my ruler up on as I trimmed.

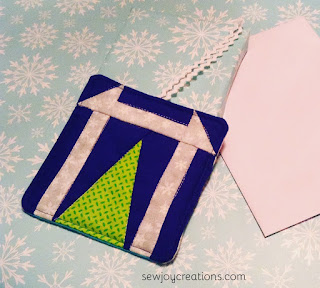
I save the wider pieces of batting and usually most of the backing fabric that I trim off a quilt. I like to make small projects with my leftovers like the ones in Patterns by Jen's Batting Buster Week.
My midnight churn ornament pattern was featured this year!
Adding Binding by Machine
I actually enjoy hand binding but don't really have the time to do it anymore. I add my binding to both sides of the quilt using the sewing machine. My method is pretty similar to Pat Sloan's and I find that the more I do it, the better I get at it.

I prepared my binding in Week 3 - you can go back here to read about it - and now it's just a matter of sewing it to the back and then the front.

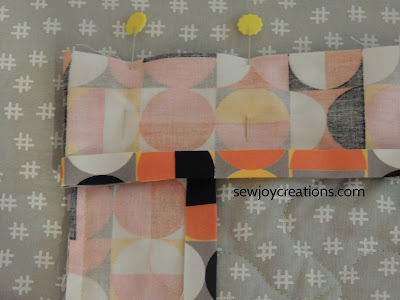
I like to start adding the binding at least half way down one of the longer sides of the quilt and cut a 45 degree angle at the beginning of the strip. The side without the ironed over seam is the side I pin and sew to the back. I leave the first few inches of the strip loose and pin just to the first corner and then I pin each side as I go. I sew 1/4" seam and stop 1/4" from the corner.

Then it's time to fold the binding at a 45 degree angle and then over itself to have enough to fold over the corner. Keep going until you're almost at the beginning of the binding strip.

Lay the binding over the initial binding and cut off the excess a few inches past the overlap - cut on a 45 degree angle opposite the first. I finger press a 1/4" of the beginning strip over to the back, lay the ending strip over it and pin both in place.
Stitch the Binding to the front
We're soooo close to done now! The binding strip already has an approximate 1/4" of material pressed to the wrong side.

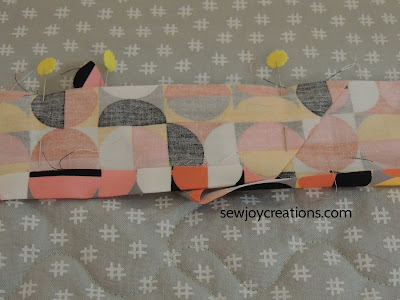
Now I fold the remaining part of the strip in half and then fold over the far edge and pin it just covering that topstitch I did on the quilt top. Sometimes I use a machine blanket stitch to attach the binding to the front, but more often than not I'm now just using a regular sewing stitch.
I like to start a little before where the two ends of the binding overlap - just so I'm careful as I stitch over the extra bulk. I stitch 1/8" inch into the binding and this lets my stitching line on the back run right against the edge of the binding if I'm lucky. Turning corners can be a bit tricky - it can take a few tries to fold the material in the corner to get a nice mitre.

Or just do your best and keep going :)
Link Up

The Dropping In quilt sew along is complete! Thanks for following along. If you joined in and would like to share a photo, you can add one to the link up below. I will keep this open for a little while - probably a month or so.
You can also use the hashtag #droppinginquilt to share on Instagram.
Thanks for joining me to #sewjoywithgoodvibes through these memorable times. It brought me joy and I hope it did the same for you!
With Joy,


0 comments:
Post a Comment